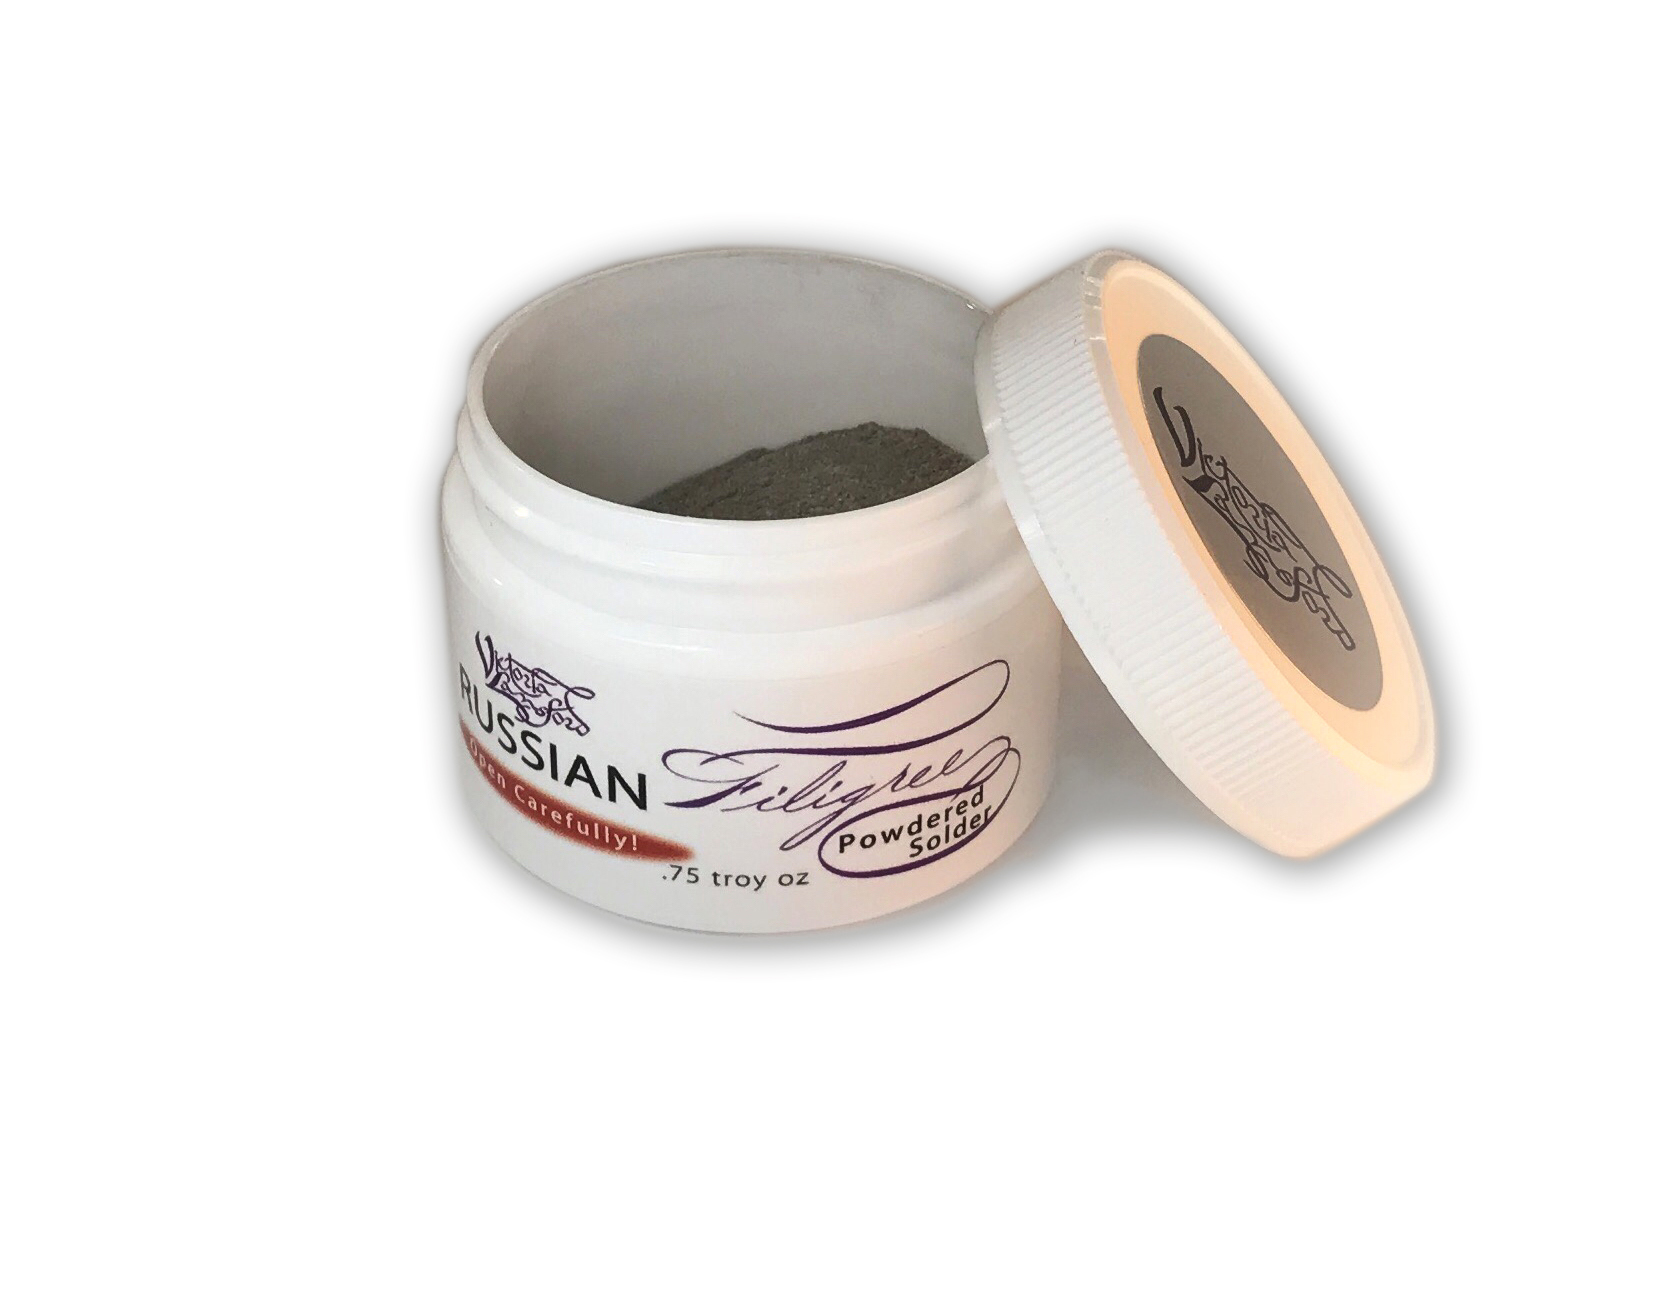

Filigree Powdered Solder
$64.95
Do you love doing Russian filigree? How does it feel to solder the filler wires?
Do you worry about melting them? Have you ever been frustrated getting the solder to flow, or worried that you’re not getting the Russian Filigree Powdered Solder mixed with water correctly?
Most people have no problems using Russian Filigree Powdered Solder. For those who haven’t quite gotten the hang of it, scroll down for detailed directions and troubleshooting tips to help you create beautiful filigree, filigrana, and Russian filigree with well hidden but secure solder joints.
Save time and expense with powdered solder, pre-mixed with flux, and made for all types of filigree. 1 jar lasts for months, and never goes bad!
This product melts at an ‘easy’ solder temperature for the first flow and then behaves as a medium solder during subsequent soldering, making it an excellent choice for multi-soldering without the risk of melting your delicate filigree wires.
1 jar contains .75 troy oz of powdered solder ($1.93/gram)
Out of stock
About Russian Filigree Powdered Solder
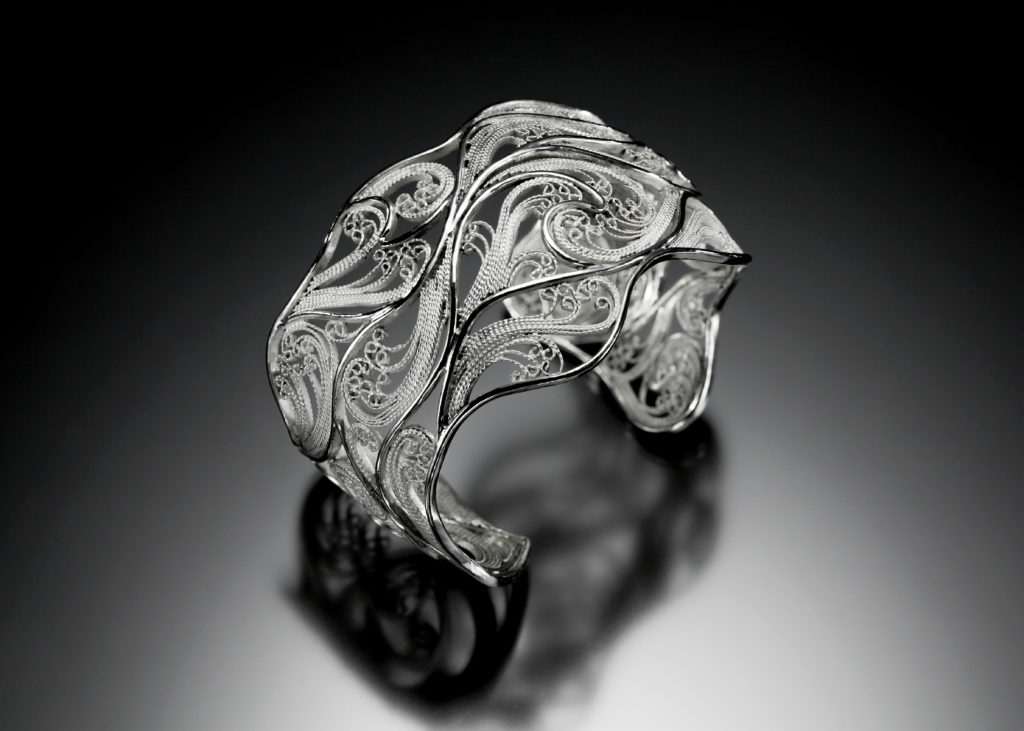
- Russian Filigree Powdered Solder is made with the same traditional recipe from antiquity that Victoria Lansford demonstrates in the video, Metal Techniques of Bronze Age Masters: Russian Filigree, however this pre-made solder already has flux mixed in it. Because Russian Filigree Powdered Solder is a finer powder than can be filed from the traditionally alloyed ingot, much less is needed to accomplish the same job.
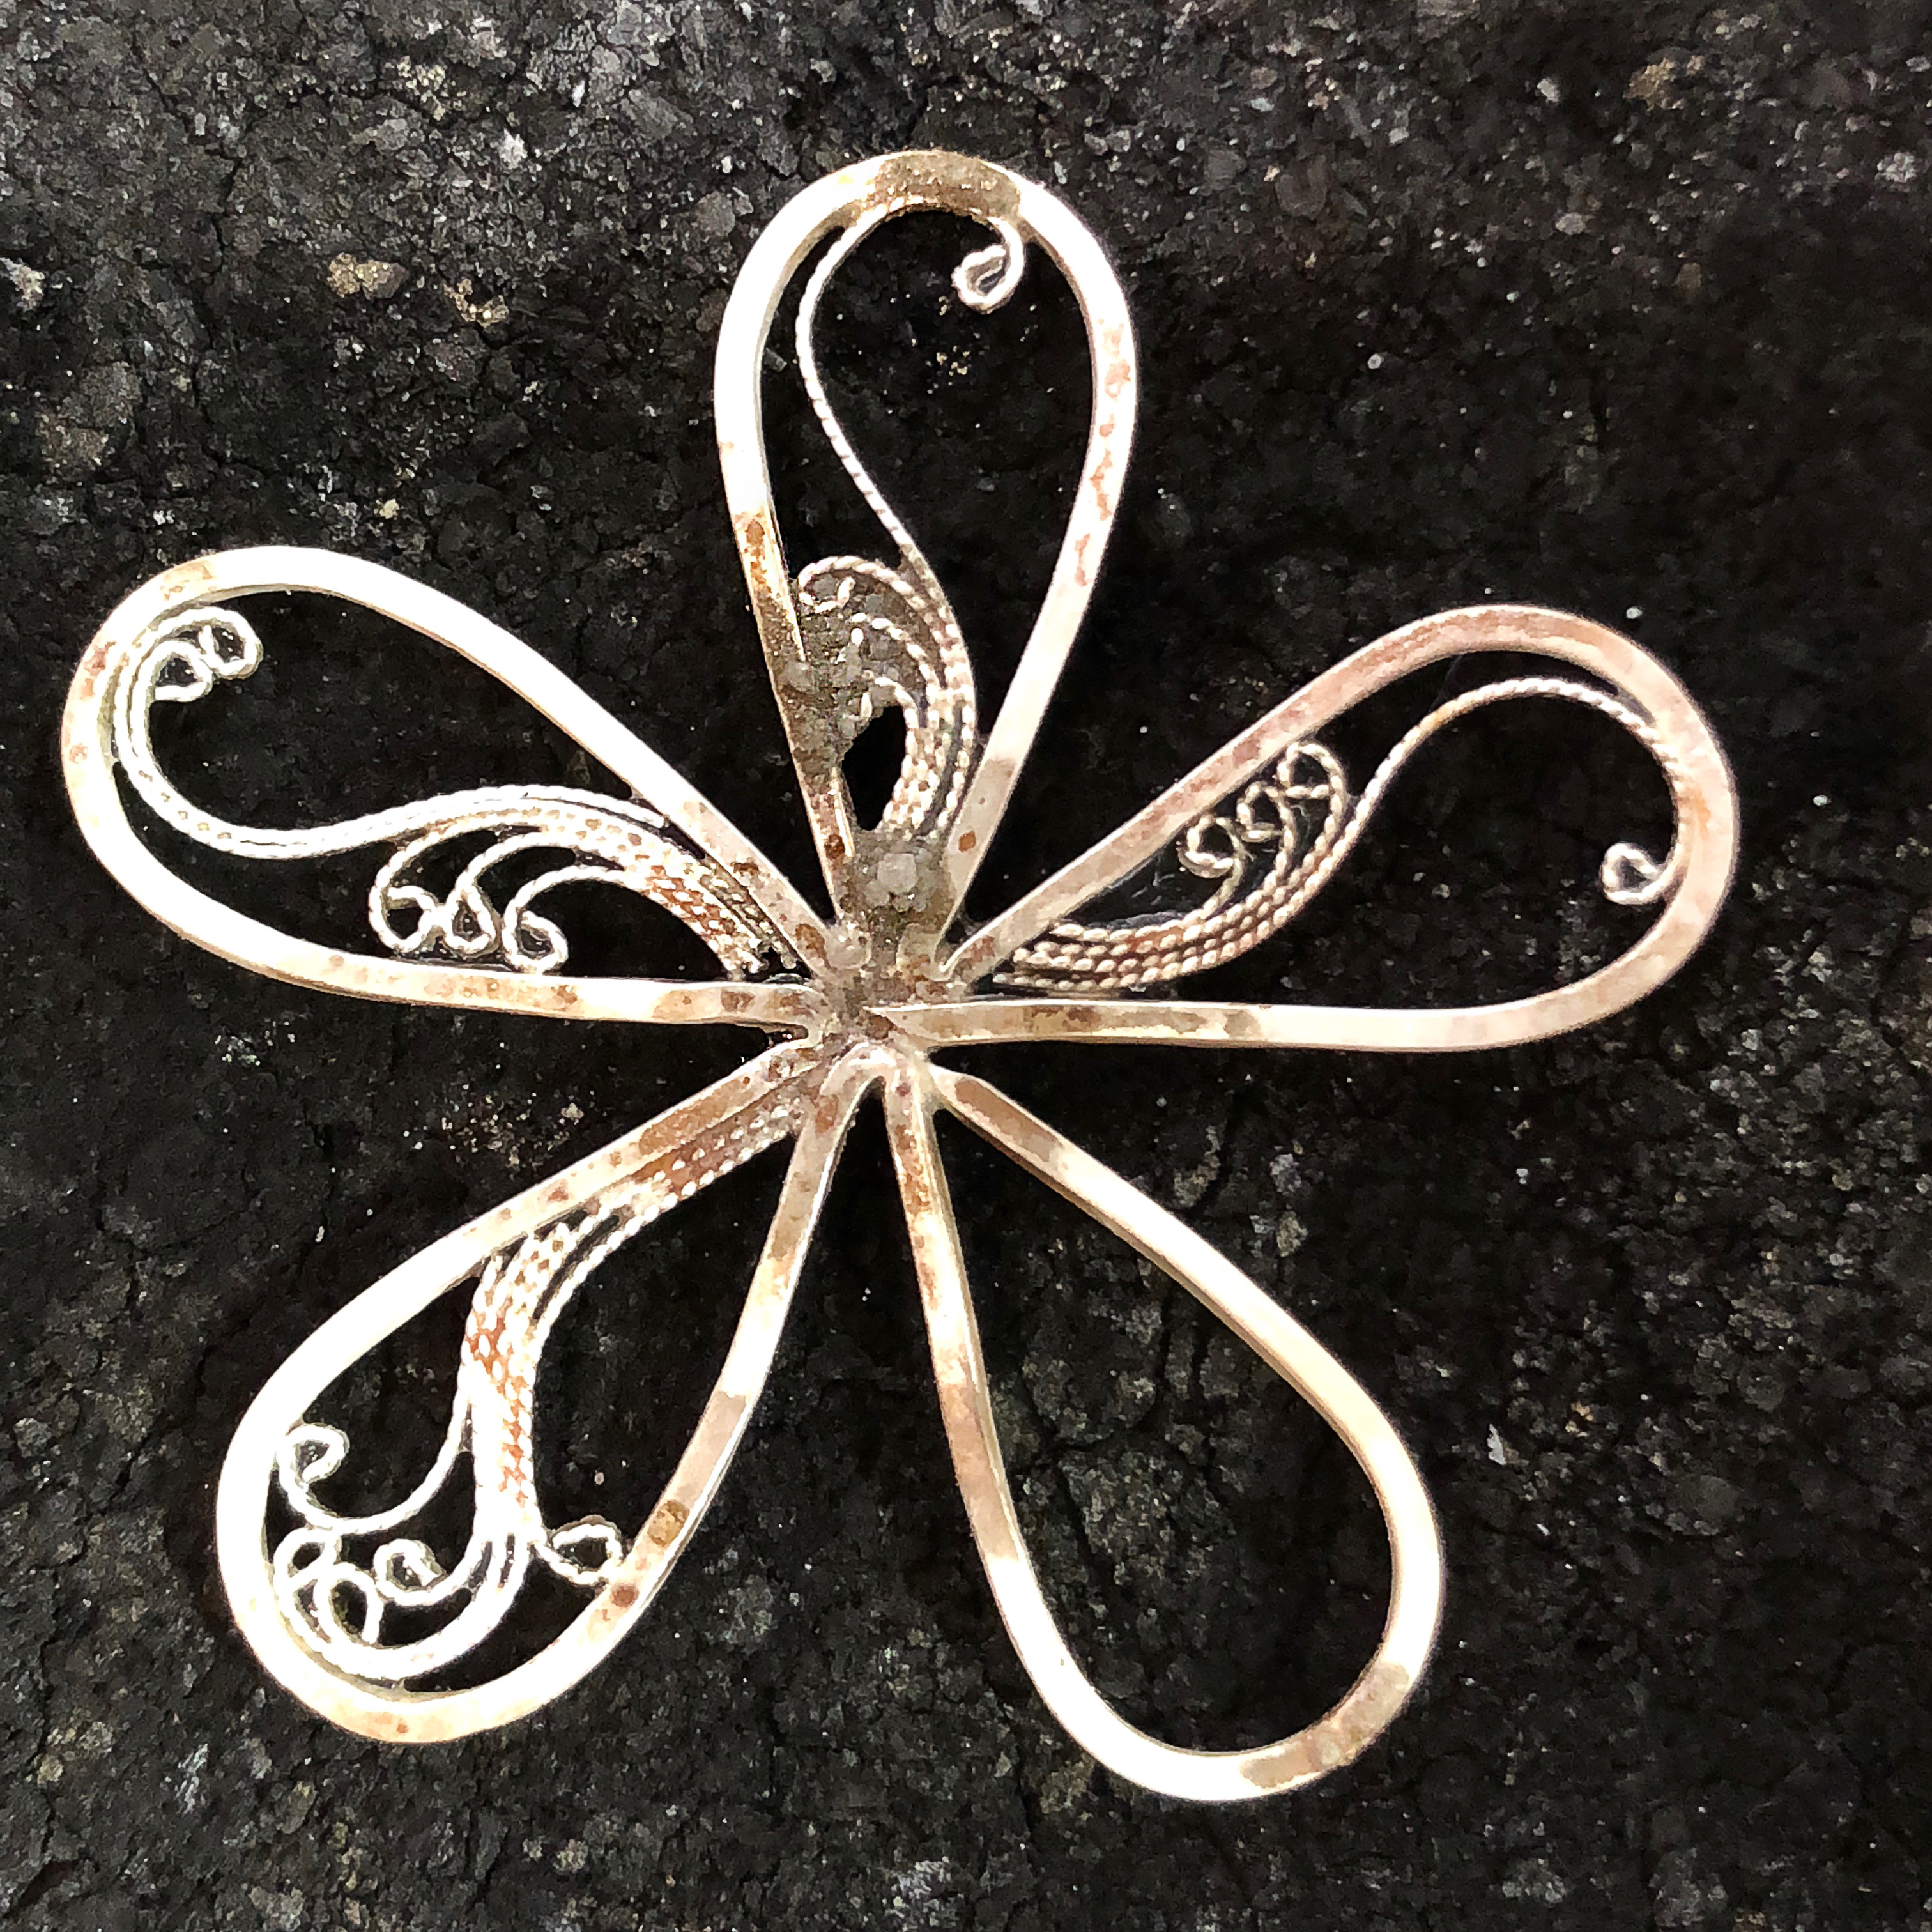
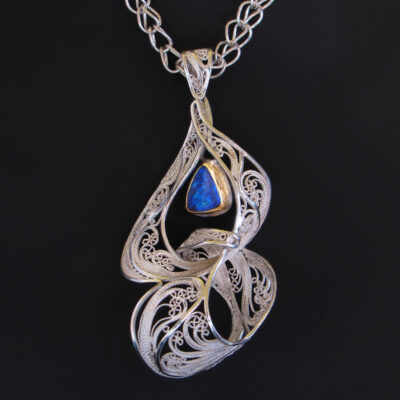
- Russian Filigree Powdered Solder works on Russian filigree with sterling frames and fine silver filler wires, 18K gold frames and fine silver filler wires, and Argentium silver frames and filler wires. It is made specifically for Russian filigree, also known as filigrana or open back filigree. It can be used for other types of projects where small tack joints with powdered solder would be appropriate.
- This solder flows like an easy solder, but, because much of the zinc burns off once it has flowed, in subsequent rounds of soldering it behaves like a medium solder. This feature allows the same solder to be used in multiple rounds of soldering on tiny wires without the risk of collapse in previously soldered areas.
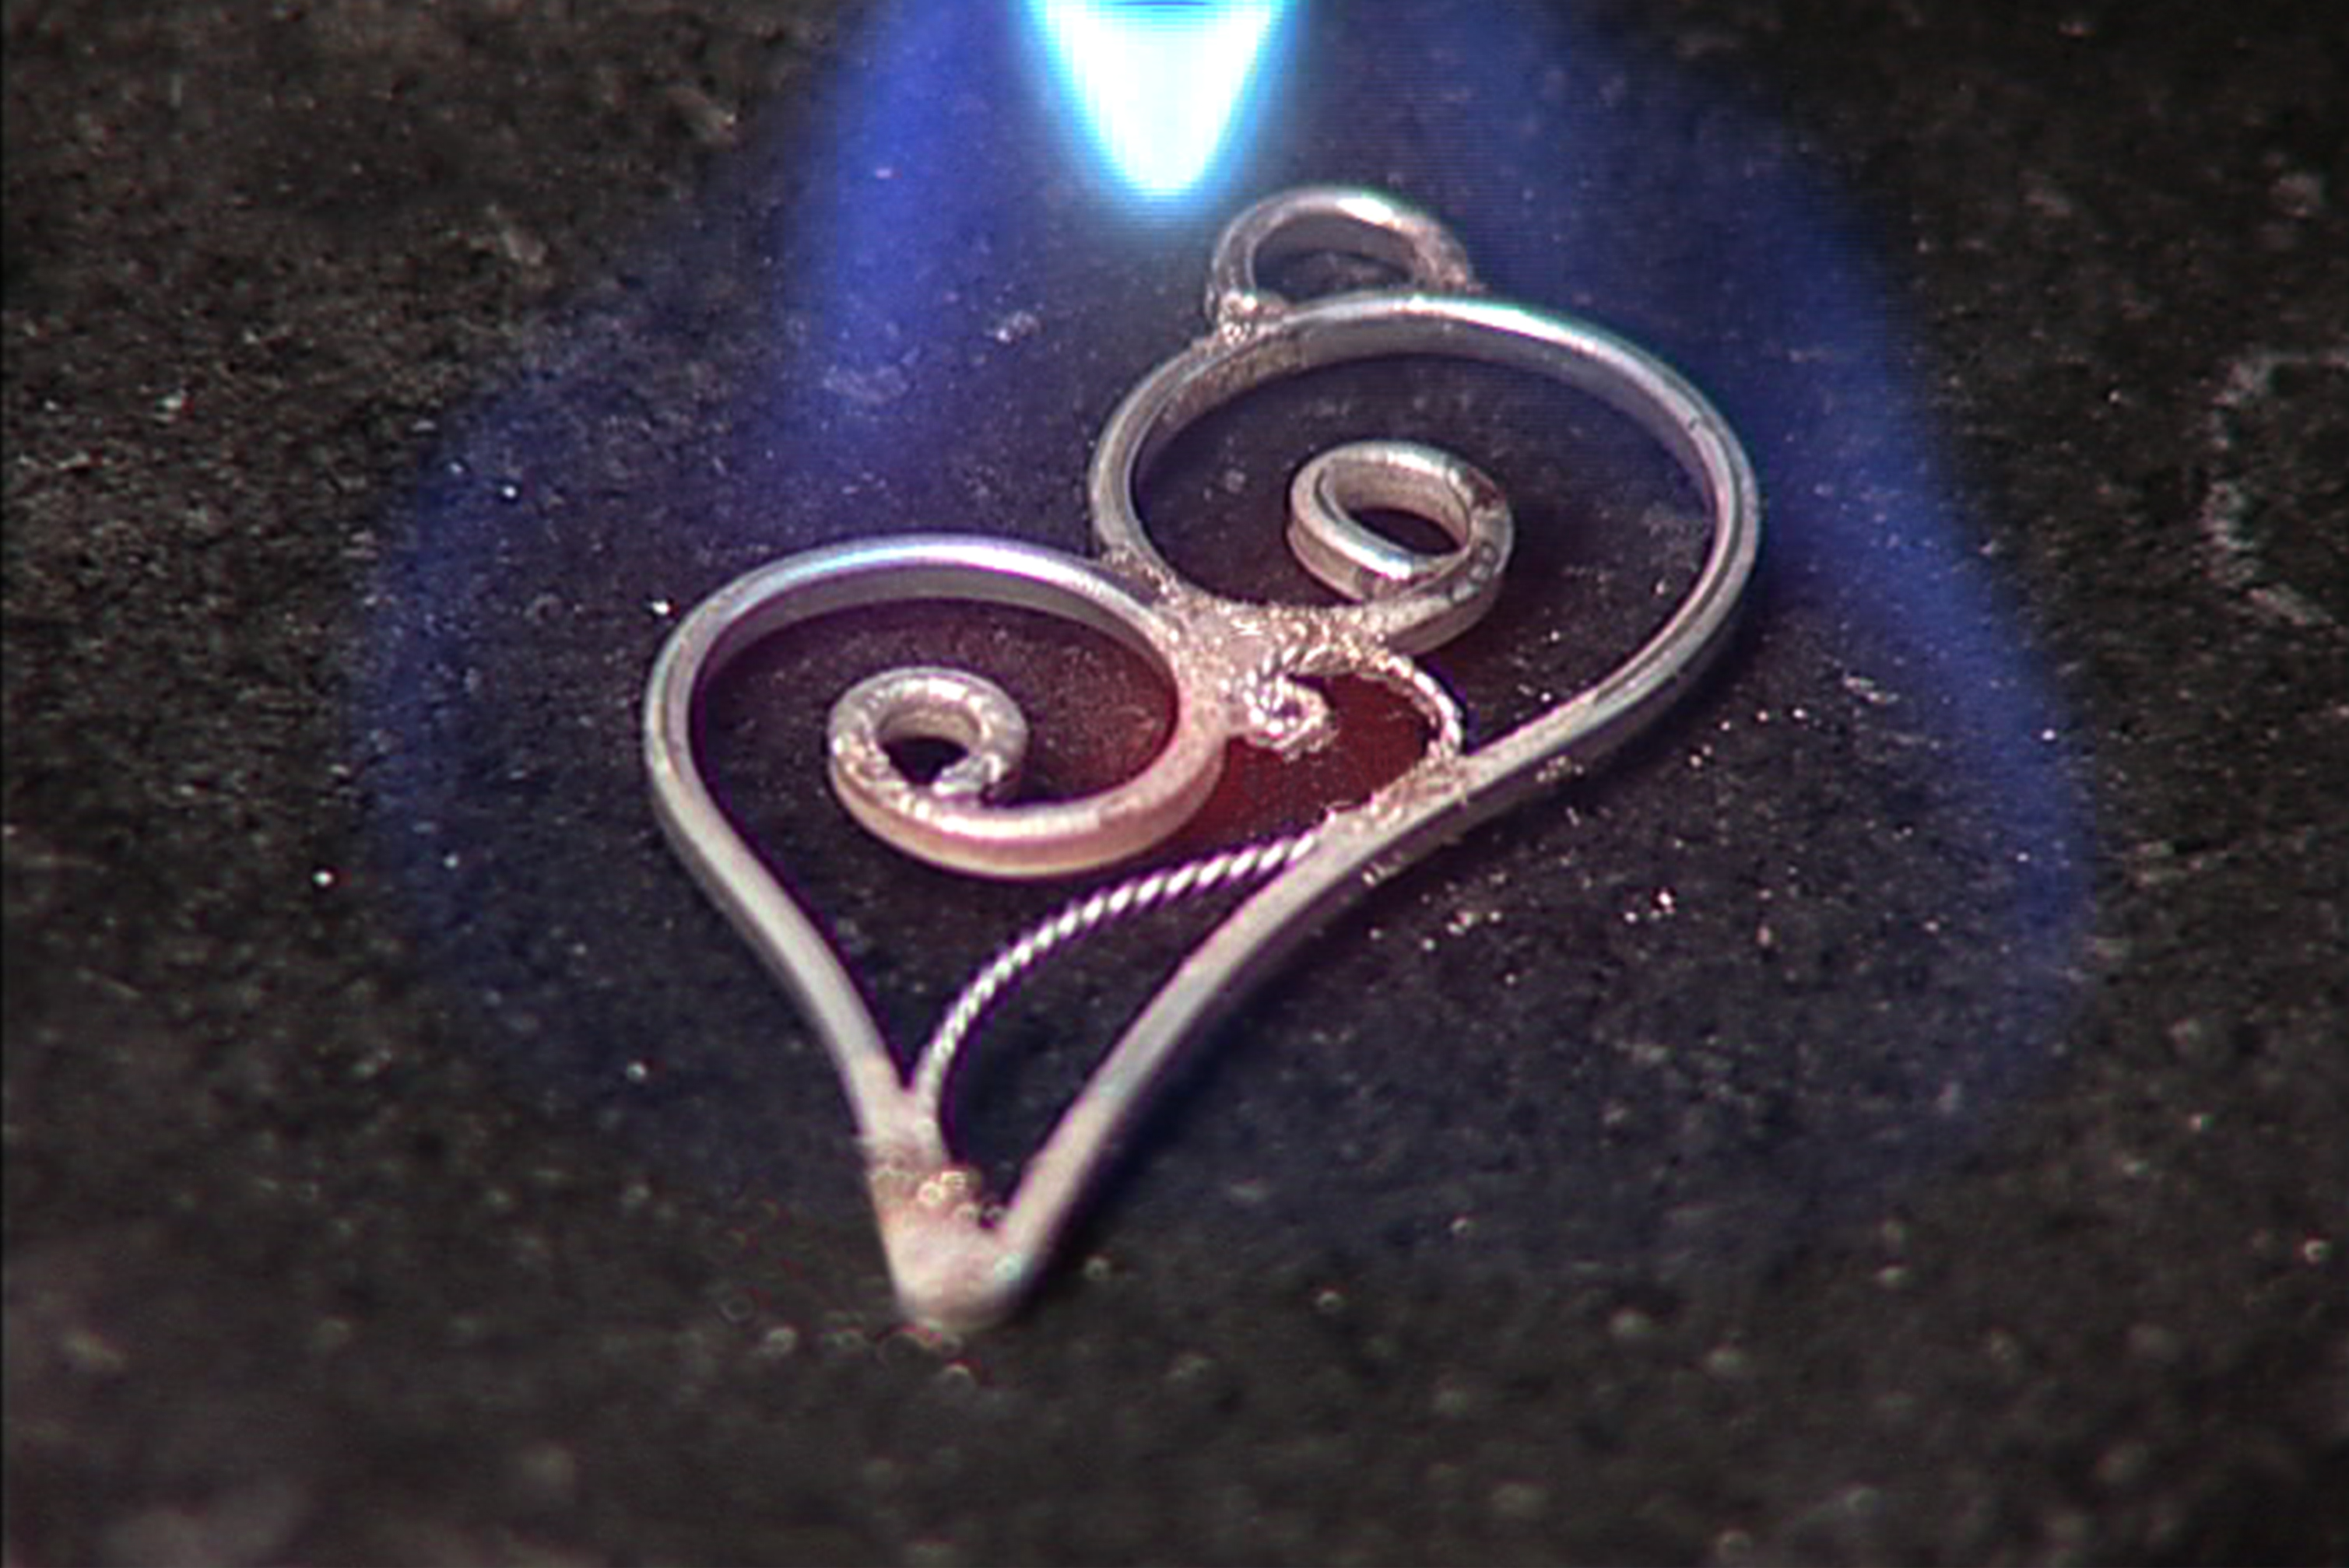
Stages of Flow for Filigree Powdered Solder During Soldering
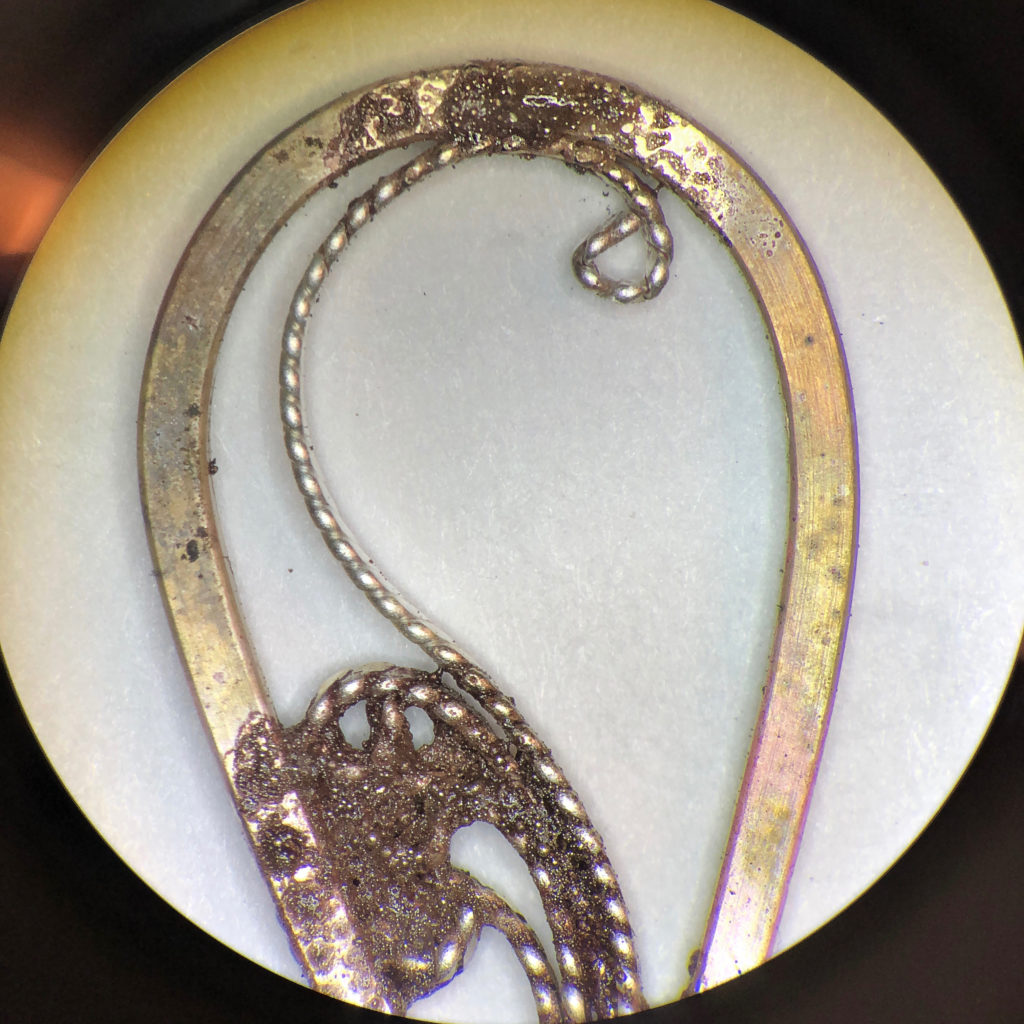
The heat has begun to make the flux look glassy, and the solder is grainy and has not yet flowed. 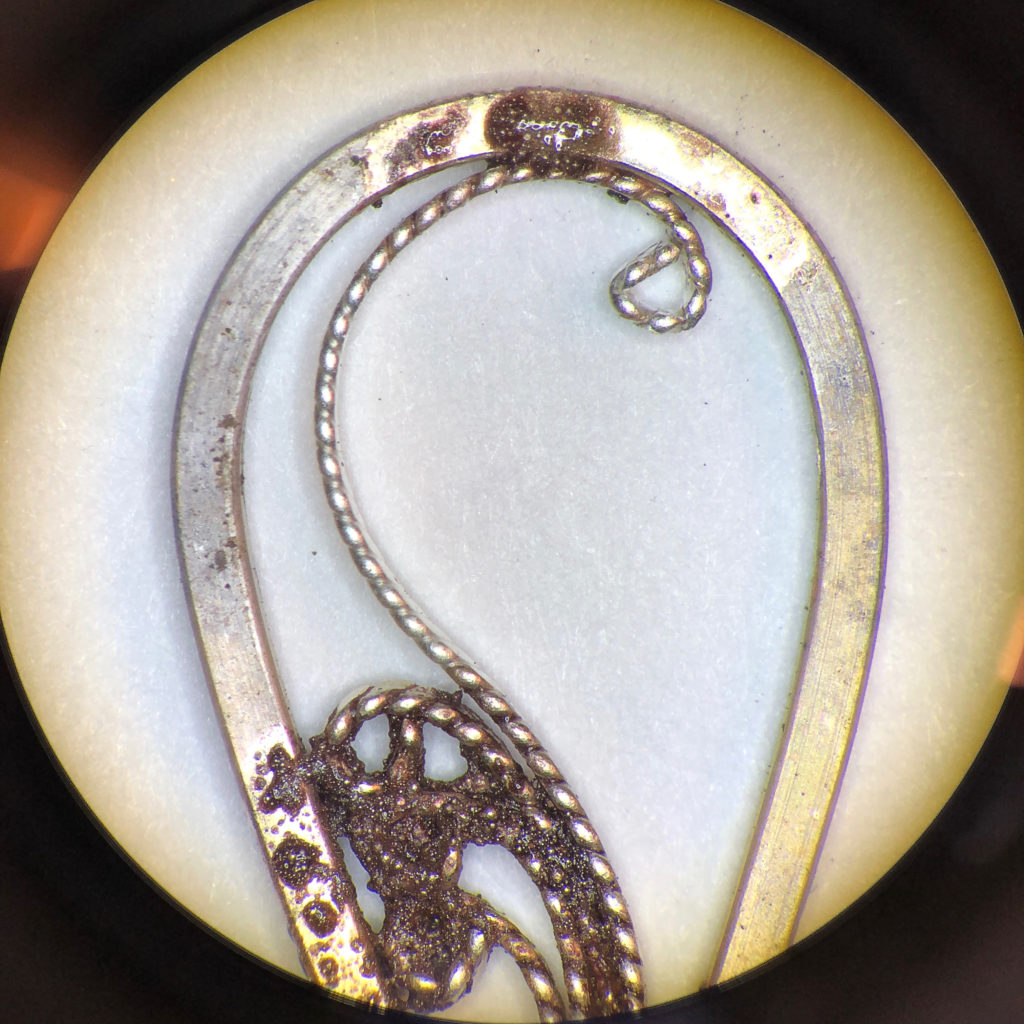
Further heating causes the solder to begin seeping into the connection points, but the solder is still grainy and has not yet flowed 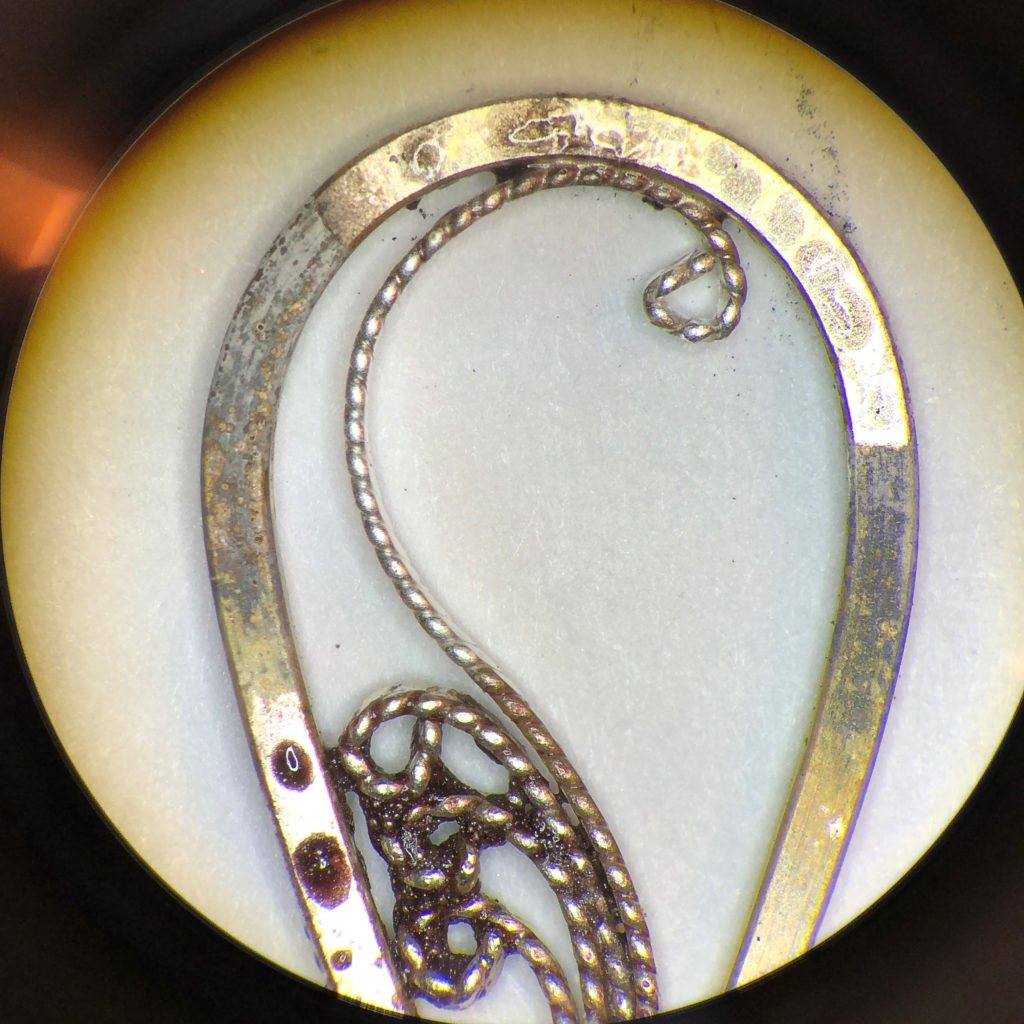
Further heating causes the solder to begin seeping into the connection points, but the solder is still grainy and has not yet flowed 
The solder has fully flowed and joined the filler wires to each other and to the frame wire.
Russian Filigree Powdered Solder Essential Instructions & Tips
Steps (see below for questions and trouble shooting)
Warning: This product contains silver, bronze, copper, zinc, and borax. Harmful if swallowed or inhaled. Let contents settle before opening to prevent metal dust becoming airborne. May cause skin irritation. SDS available upon request.
1. Turn on your ventilation system.
2. Place filigree face down on a compressed charcoal block.
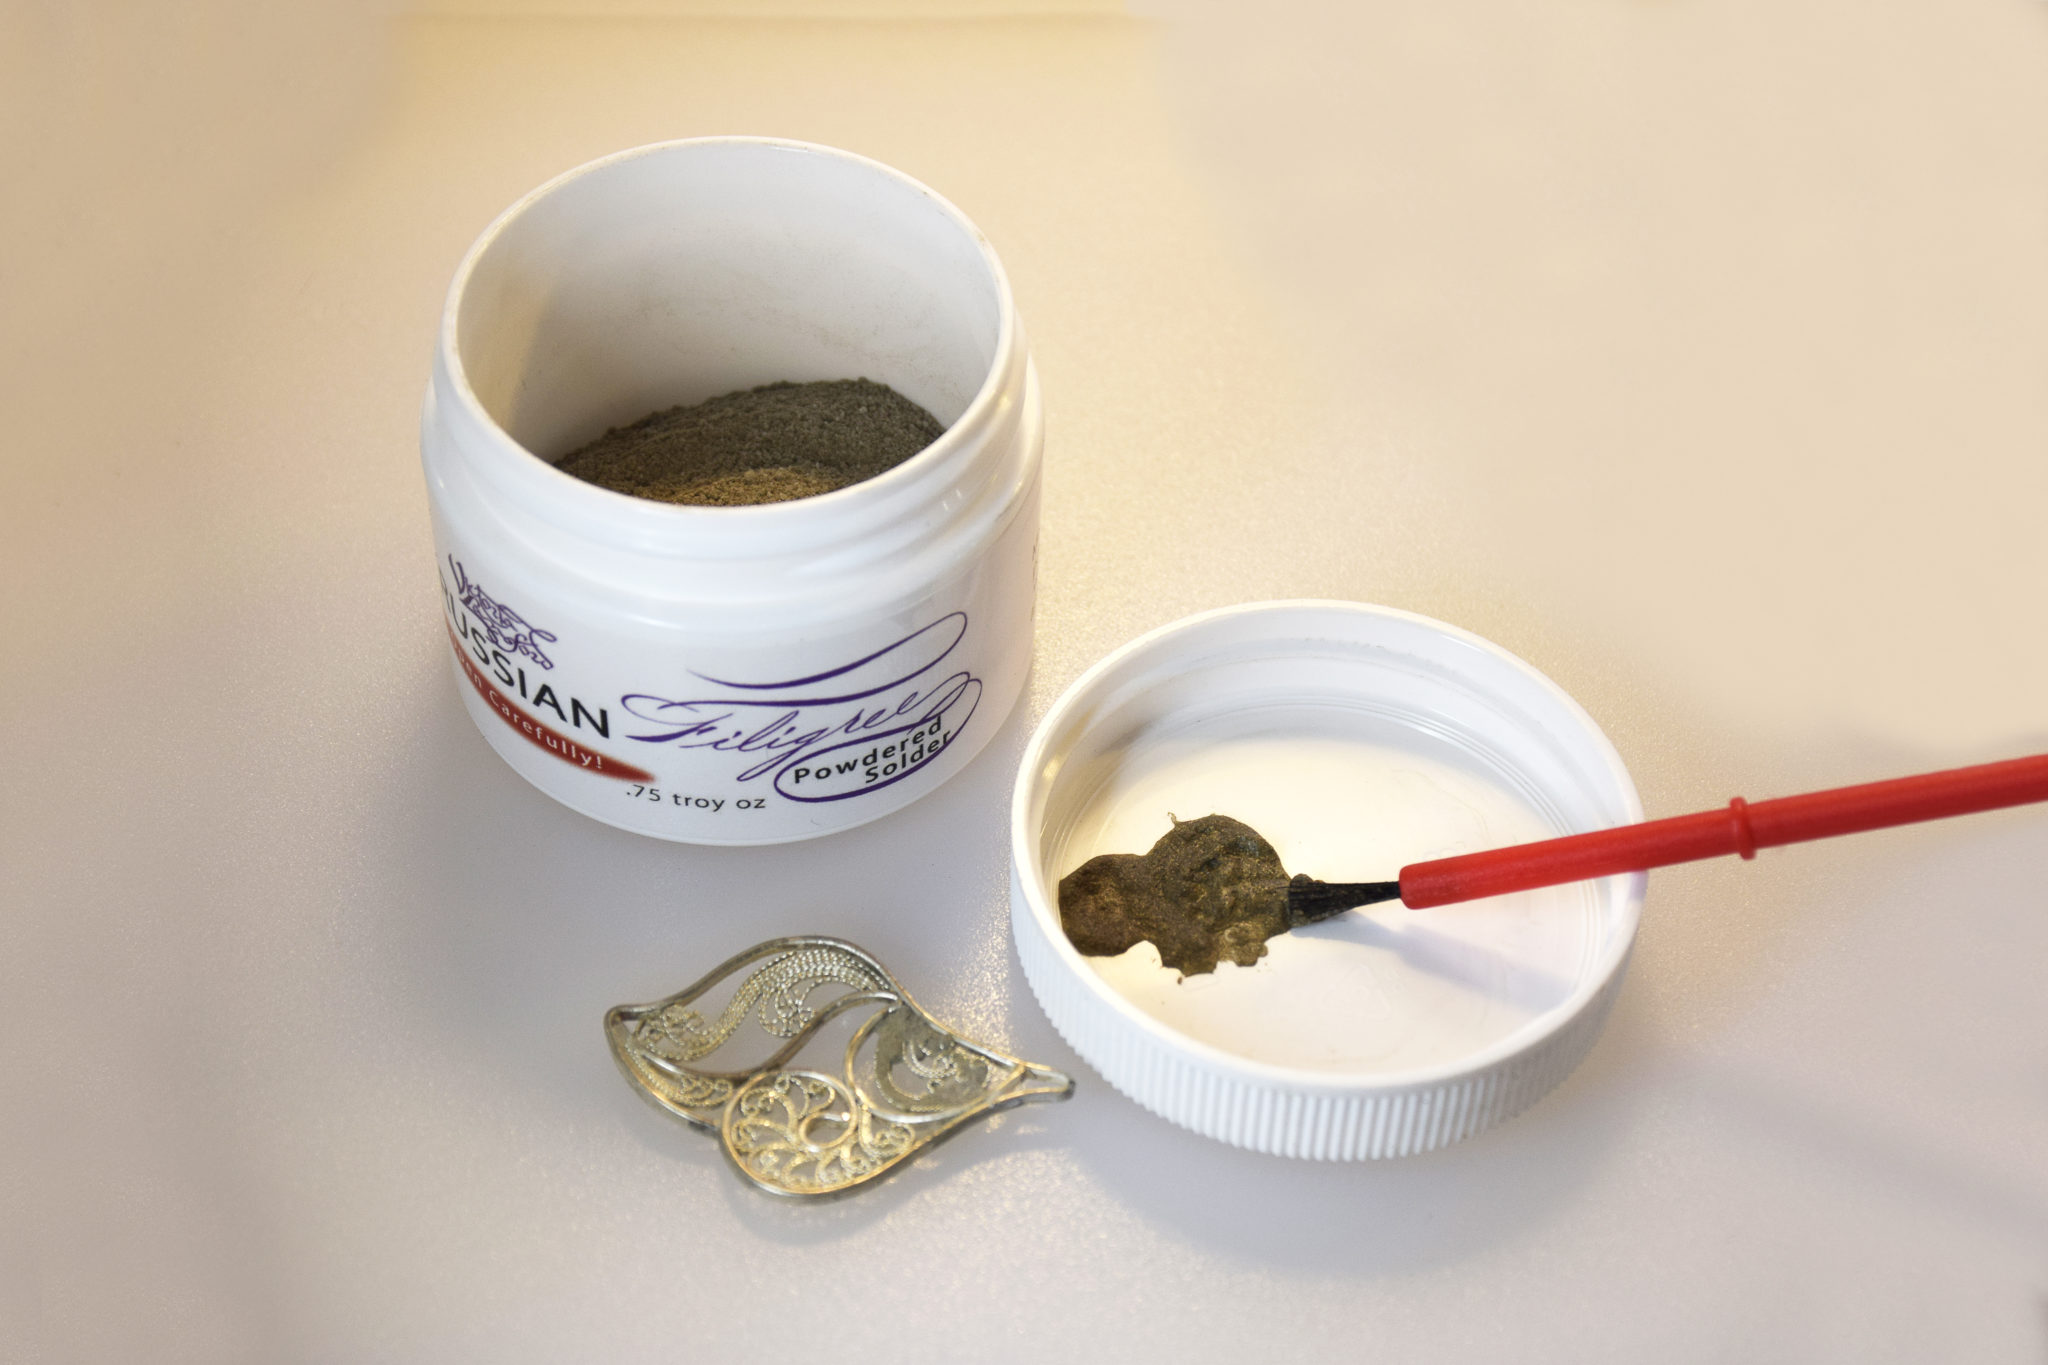
3. Carefully open the jar. (Do not shake.)
4. Scoop a small amount of the powdered solder into the jar lid.
5. Use an eye dropper or small tipped squeeze bottle to drop several drops of distilled water in the lid with the powder. Distilled water is a must!!! (Bottled or tap water may cause problems due to chemicals or minerals in the water.) Stir the distilled water together with the powder. The ideal consistency is more like icing for a cupcake and less like glaze for a doughnut. Water turns the powdered solder a slightly darker color, which is normal. (See Common Questions and Troubleshooting for more information on mixing.)

6. Gently paint the solder onto the filigree at each point to be soldered. Cheap synthetic brushes work best. Better brushes may cause the solder to stick to the brush and not adhere to the filigree.
7. Let the piece dry for 5 minutes to prevent the moisture from causing the solder to boil or make the wires shift.
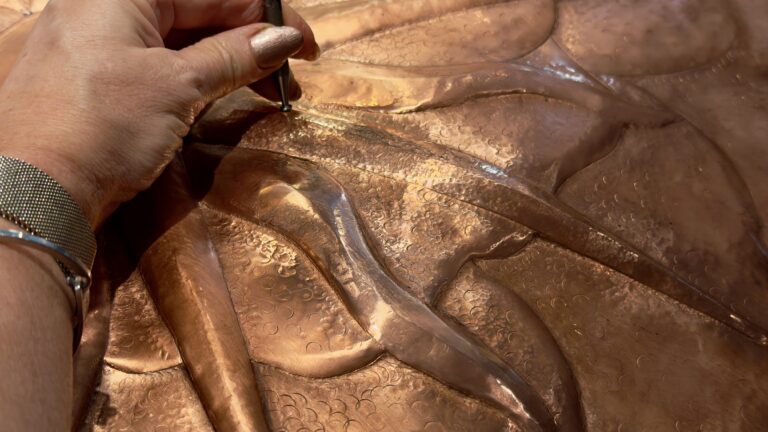
8. Solder by heating the whole piece first with a “corona” type flame, then concentrate the heat on the joints. See below for much more information on soldering filigree. Always use adequate ventilation!
9. Pickle.
10. Return unused powdered solder in the jar lid to the container. To reconstitute, add more distilled water. Dried solder may be remixed indefinitely.
11. If for any reason you need to re-flow a section of filigree where the solder has already flowed and the piece has been pickled, then you will need to flux that area with paste flux to help the solder re-flow.

Common Questions and Troubleshooting
Tips for Creating Filigree
Frame Tips:
- Make sure your frame sits flat on the steel block
- Remove any blobs of solder that may have pooled in the corners of your frame
- Make sure your frame wires are straight and not twisted or tilted. This is extremely important when working with square frame wire.
Filling Tips:
- If your filler wires won’t stay in, and you’re certain the frame is straight, flat, and free of solder blobs, the filler wire may not be straight from the loop to the end of the curve. If needed, reshape it with tweezers.
- Make sure that your filler wire is sufficiently flattened. If it is too thick (not rolled enough), it may keep popping out when you place it in the frame. Roll it through the rolling mill again to make it slightly thinner. There is no need to anneal it again before or after.
Save Time with Ready-to-Use Filigree Wire
-
 Filigree Frame WirePrice range: $19.00 through $22.00
-
 Filigree Fine Silver Filler WirePrice range: $29.00 through $48.00
-
 Filigree Wire Example Card$24.00
You may also like…
-
Sold Out

-
Sold Out
Filigree Frame Wire
Price range: $19.00 through $22.00Select options This product has multiple variants. The options may be chosen on the product page -

-

-
Filigree Fine Silver Filler Wire
Price range: $29.00 through $48.00Select options This product has multiple variants. The options may be chosen on the product page